
Pentest Methodology » Pentest Tools » Web » wafw00f – Detect WAF (Web Application Firewalls)
Some websites are protected by Web Application Firewalls (WAF).
Tools like wafw00f are able to detect them, making our reconnaissance work easier.
In this tutorial, we are going to see how we can use wafw00f to detect WAFs and all the options available.
Table of Contents
What is Wafw00f
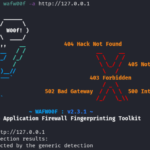
Besides its funny name, wafw00f is a serious Kali Linux tool designed to detect what WAFs are used on websites.
WAF (Web Application Firewalls) are firewalls designed to protect HTTP services. They detect many attack or pentesting attempts, mostly because payloads for web-related attacks are blatant (e.g. SQL injections keywords, file inclusion containing “../../../../”, etc.). When a WAF detects such attack, the request is blocked.
Therefore, we need to know if a website is protected or not by a WAF in order to adapt our penetration testing.
According to the Kali Linux man page, wafw00f works with the following logic:
1. Sends a normal HTTP request and analyses the response; this identifies a number of WAF solutions.

2. If that is not successful, it sends a number of (potentially malicious) HTTP requests and uses simple logic to deduce which WAF it is.

3. If that is also not successful, it analyses the responses previously returned and uses another simple algorithm to guess if a WAF or security solution is actively responding to the attacks.
So pretty straightforward. wafw00f sends HTTP requests and tries to find well-known WAF signatures (keywords in HTTP headers or in the HTTP body).
If nothing is found, it concludes that no WAF exists.
To install wafw00f, please refer to the installation section on their official Github page.
Let’s see examples and options.
wafw00f Options and Examples
Let’s see the syntax, then a simple use case, then options and examples.
Syntax
The syntax of wafw00f is the following:
wafw00f [options] [targets]
Where options are optional parameters that we’ll describe later, and targets are one or multiple URLs / IP addresses.
Detect WAF – Simple Command
Let’s detect the WAF used by the CloudFlare website:
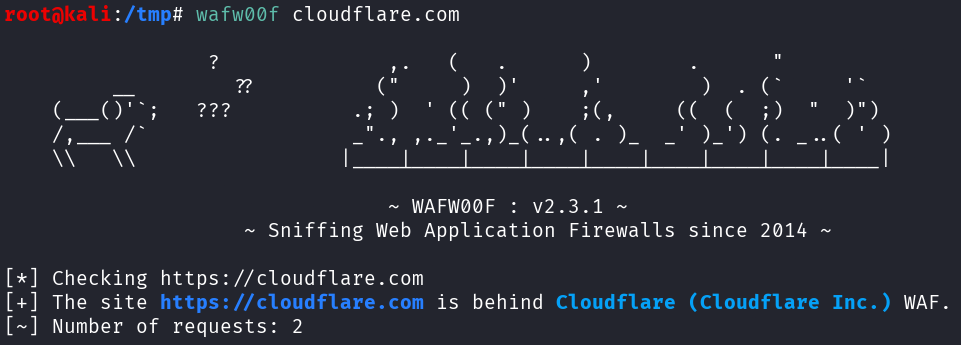
The command was the following:
wafw00f cloudflare.com
No options are used, and cloudflare.com was our only target.
wafw00f displays a random banner then the results. Here, after only 2 HTTP requests, it was able to detect Cloudflare (Cloudflare Inc.) WAF.
This is the most straightforward way to use wafw00f. Let’s explore some options with examples:
Detect WAF of Multiple Targets
We can pass multiple targets to wafw00f. For instance, if we want to detect the WAF of cloudflare.com, fortinet.com and epicgames.com, we can simply chain them on the command with spaces in between:
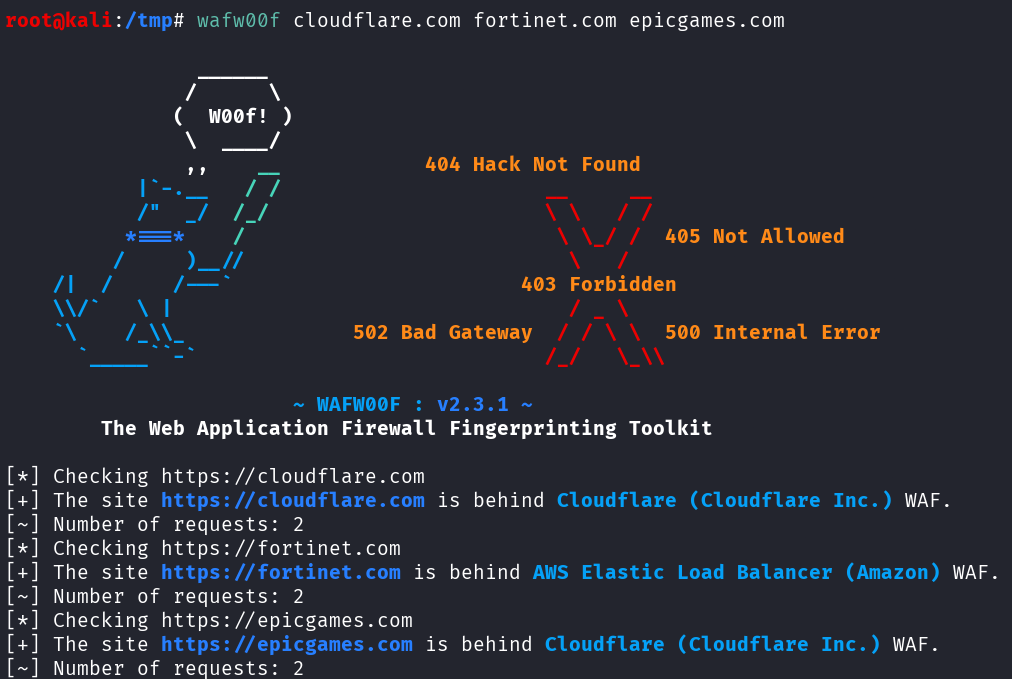
As you can see, a WAF was detected for all the provided websites.
We can also provide a file that contains the targets using the -i option.
This file can be a text file (one target per line), a JSON file (targets inside the “url” field), or CSV (“url” column).
Examples:
targets.txt:
fortinet.com
cloudflare.com
targets.json:
[
  {
	"name": "Fortinet",
	"url": "fortinet.com"
  },
  {
	"name": "CloudFlare",
	"url": "cloudflare.com"
  }
]
targets.csv:
name,url,
Fortinet,fortinet.com,
CloudFlare,cloudflare.com,
Commands to use those files containing our targets:
wafw00f -i targets.txt
wafw00f -i targets.json
wafw00f -i targets.csv
Example with the JSON file:

This option is very useful in some situations. For instance, if we are doing bug bounty on many subdomains, we can gather those subdomains in a text file, one per line, then launch wafw00f to scan all the subdomains in the file at once.
Output Results as CSV, JSON or text
The default output is in stdout. It’s a bit messy with all the additional information and the banner.
We can change the output using the -o option, by specifying the filename with the correct extension (.csv, .json or .txt).
Given the previous example, let’s output a CSV result inside a file called results.csv:
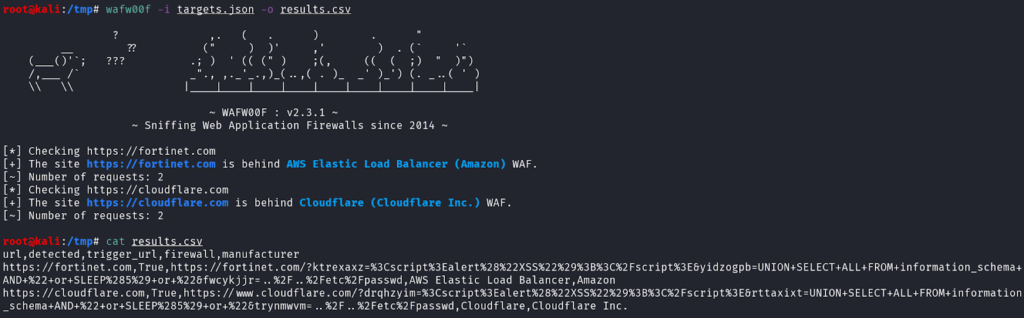
Command used:
wafw00f -i targets.json -o results.csv
As you can see, wafw00f detected the .csv extensions of the output file name and the output format was automatically CSV. If no extension is provided, or an unknown extension, the default format is text.
This CSV data has a column named “trigger_url”, that contains the exact URL used by wafw00f to detect the WAF.
For instance, the URL used to detect Fortinet WAF was:
https://fortinet.com/?wkvkxinz=%3Cscript%3Ealert%28%22XSS%22%29%3B%3C%2Fscript%3E&ziwtcyhm=UNION+SELECT+ALL+FROM+information_schema+AND+%22+or+SLEEP%285%29+or+%22&povaeihm=..%2F..%2Fetc%2FpasswdThe URL contains XSS, SQL injection and Path Traversal obvious payloads with many keywords (<script>, alert(), UNION SELECT ALL, ../../etc/passwd).
It was instantly blocked by the WAF:

wafw00f is then able to match the source code of this response to one of the WAF in its database.
The JSON and text outputs look like this:
results.json:
[
  {
	"detected": true,
	"firewall": "AWS Elastic Load Balancer",
	"manufacturer": "Amazon",
	"trigger_url": "https://fortinet.com/?wwveqqeu=%3Cscript%3Ealert%28%22XSS%22%29%3B%3C%2Fscript%3E&rmainsjh=UNION+SELECT+ALL+FROM+information_schema+AND+%22+or+SLEEP%285%29+or+%22&hpoxrkcc=..%2F..%2Fetc%2Fpasswd",
	"url": "https://fortinet.com"
  },
  {
	"detected": true,
	"firewall": "Cloudflare",
	"manufacturer": "Cloudflare Inc.",
	"trigger_url": "https://www.cloudflare.com/?aueoxngr=%3Cscript%3Ealert%28%22XSS%22%29%3B%3C%2Fscript%3E&bmvhvpmp=UNION+SELECT+ALL+FROM+information_schema+AND+%22+or+SLEEP%285%29+or+%22&dhmenyhu=..%2F..%2Fetc%2Fpasswd",
	"url": "https://cloudflare.com"
  }
]
results.txt:
 	https://fortinet.com   https://fortinet.com/?diduhuml=%3Cscript%3Ealert%28%22XSS%22%29%3B%3C%2Fscript%3E&mucgckbj=UNION+SELECT+ALL+FROM+information_schema+AND+%22+or+SLEEP%285%29+or+%22&ncgtqhnc=..%2F..%2Fetc%2Fpasswd (AWS Elastic Load Balancer)   AWS Elastic Load Balancer
   https://cloudflare.com        	https://www.cloudflare.com/?nmgmdheu=%3Cscript%3Ealert%28%22XSS%22%29%3B%3C%2Fscript%3E&nxrghfbk=UNION+SELECT+ALL+FROM+information_schema+AND+%22+or+SLEEP%285%29+or+%22&mheiazwu=..%2F..%2Fetc%2Fpasswd (Cloudflare)              	Cloudflare
Find all Possible WAF
wafw00f has the option -a to find all the possible WAFs that match the signatures.
Let’s see with our previous targets:
Command used:
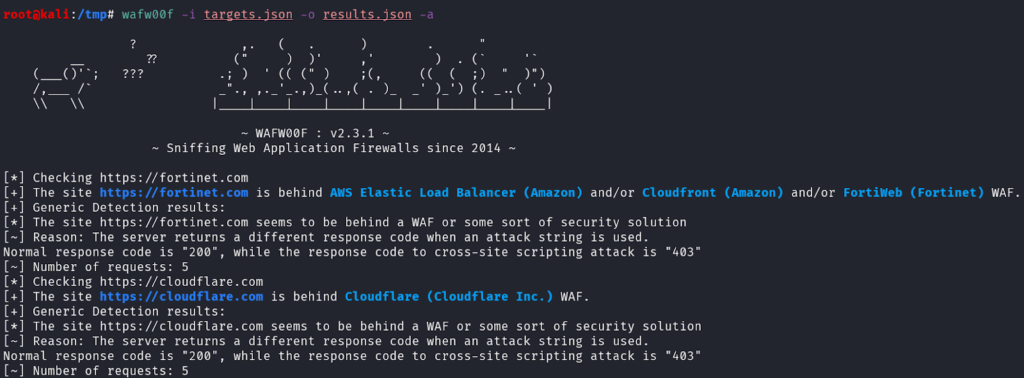
wafw00f -i targets.json -o results.json -a
wafw00f adds explanations and 2 other possible WAFs for the website https://fortinet.com/.
It’s important to remember that wafw00f might have false results, and this option allows a broader guess and a better comprehension of the tool we use.
Detect a Specific WAF
To see all the WAFs that wafw00f is able to detect, we can use the -l option.
Example with grep to find all the Fortinet WAF that wafw00f can detect:
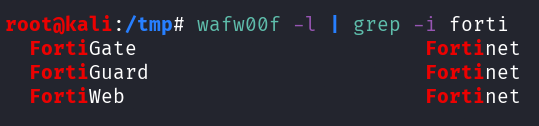
Command used:
wafw00f -l | grep -i forti
Then, we can use the -t option to only test for one specific WAF. Example with CloudFlare WAF:
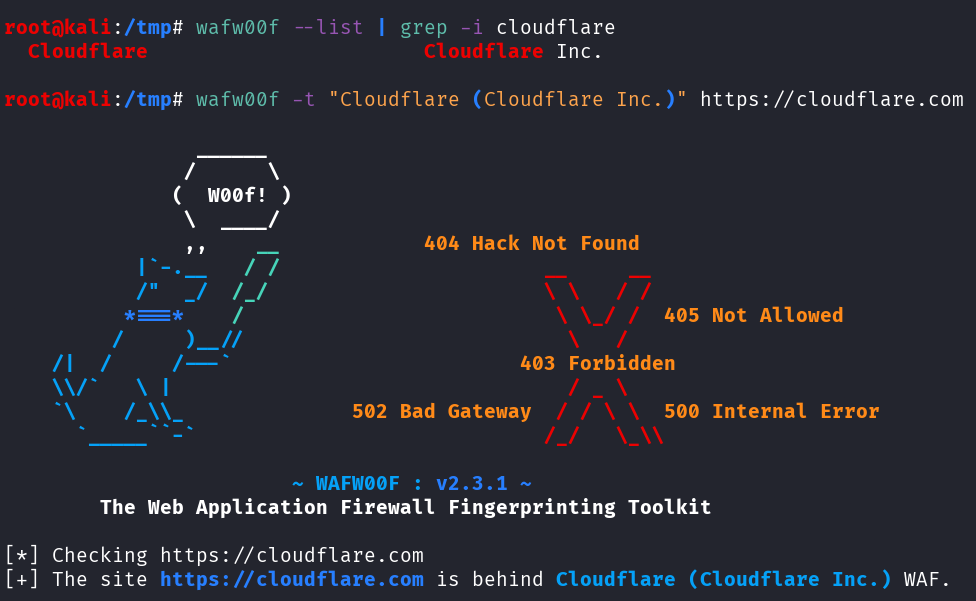
Command used:
wafw00f -t "Cloudflare (Cloudflare Inc.)" https://cloudflare.com
Note that the -t option needs the following syntax:
WAF NAME (MANUFACTURER) WAF name is the first column, the manufacturer is the second column (in the results of wafw00f -l).
Summary and Other Options
Summary of the options we’ve used during our examples and other options that we can use on wafw00f:
-a: find all WAFs that match the detection

-t: test for one WAF

-o: output results in a file (txt, csv, json)

-i: reads targets from a file (txt, csv, json)

-l: lists all the WAF that wafw00f can detect


Other options:

-v: verbose

-r: do not follow redirections

-H: defines custom HTTP headers

-p: defines a proxy to perform HTTP requests
Bonus – Requests Sent by WafW00f
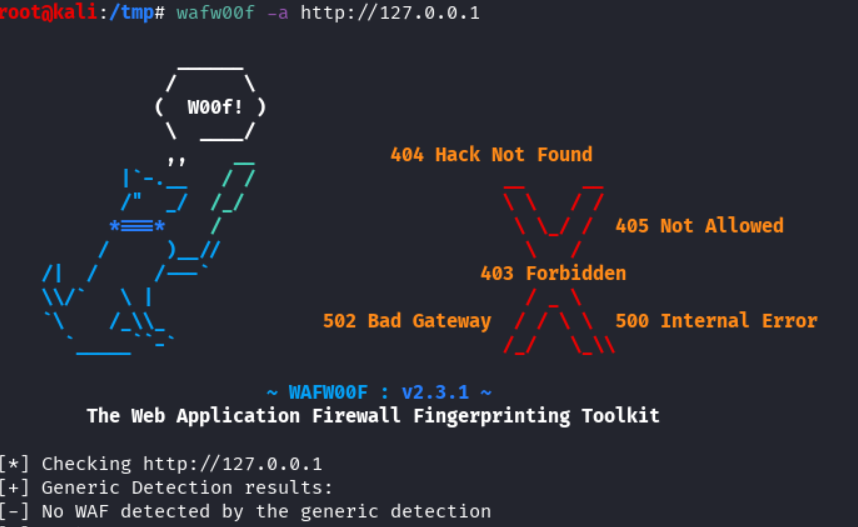
We can launch a simple Python HTTP Server on our local host, then launch wafw00f on it to see all the requests sent by wafw00f:
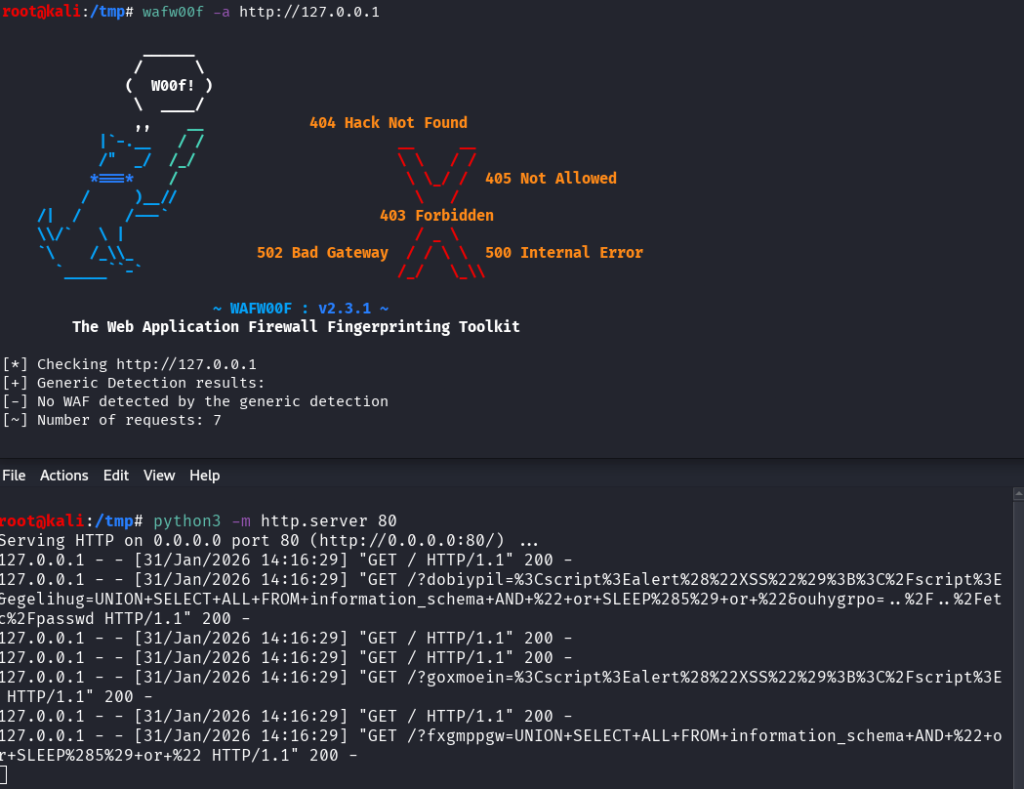
Commands used:
Terminal 1: python3 -m http.server 80
Termnial 2: wafw00f -a http://127.0.0.1
Results (requests made by wafw00f):
/?dobiypil=%3Cscript%3Ealert%28%22XSS%22%29%3B%3C%2Fscript%3E&egelihug=UNION+SELECT+ALL+FROM+information_schema+AND+%22+or+SLEEP%285%29+or+%22&ouhygrpo=..%2F..%2Fetc%2Fpasswd

/?goxmoein=%3Cscript%3Ealert%28%22XSS%22%29%3B%3C%2Fscript%3E

/?fxgmppgw=UNION+SELECT+ALL+FROM+information_schema+AND+%22+or+SLEEP%285%29+or+%22
As we saw earlier, wafw00f sends XSS, SQL injection and File Inclusion payloads to trigger WAF.
Final Thoughts – wafw00f
wafw00f is a light and straightforward tool I use to detect WAF on websites.
It’s easy to use and we can include it in an automated recon process whenever we have a list of subdomains/websites/IPs in a file (JSON, CSV or txt).
If you’re interested in reading more tutorials about web pentest tools, see the posts below:
- wafw00f – Detect WAF (Web Application Firewalls)
- whatweb Tutorial: Identify Website Technologies
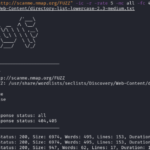
- Fuzz Websites with ffuf – Complete Tutorial
.
Disclaimer
All content published on this website is for educational purposes only.
The techniques, tools, and methodologies described here are intended to be used only on systems you own or have explicit permission to test.
I do not encourage or take responsibility for any illegal use of the information provided.